How-To Guides
Before You Hand It Over: How to Prepare Any Item for a Successful Swap
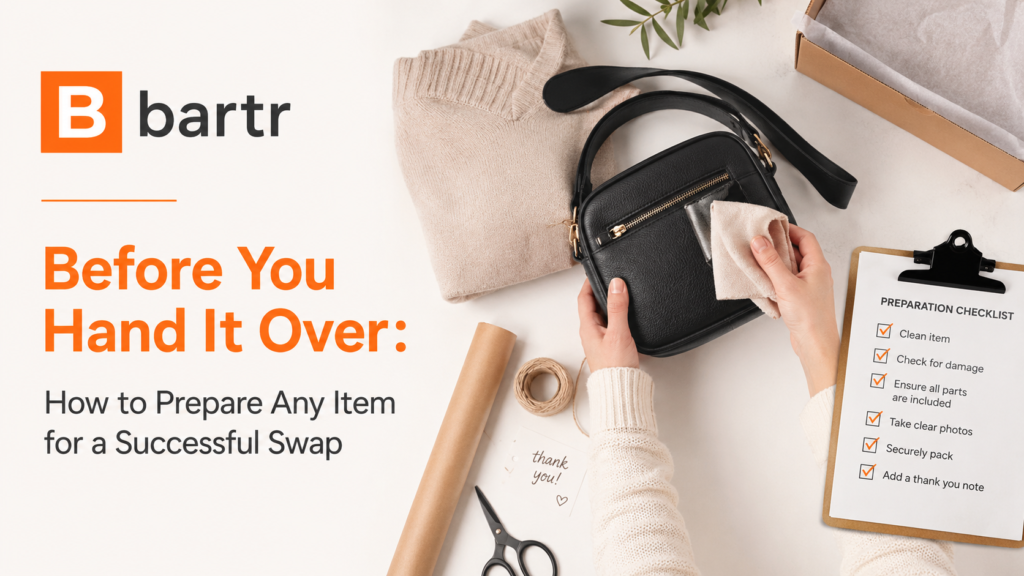
Before you pack anything, look at it as though you had never seen it before.
That is the whole job. Preparation is not about making an old item look new — it is about making the exchange accurate and respectful, so nobody is surprised at the handover.
Dust and wipe the item using a method suited to its material. Then stop.
What not to do: painting over cracks, using strong fragrance to mask an odour, or applying products that temporarily disguise wear. Cleaning should reveal the true condition, not change the description — and anything that wears off in a week ends up as a bad review.
Let fabric, toys and washable components dry fully before packing. Trapped moisture creates odour and staining in transit, and a damp item in a sealed bag arrives worse than it left.
Test every feature you mentioned in the listing. Charge electronics, run an appliance briefly, work every moving part, check that remotes and controls respond.
If a new fault appears, tell the other person before they travel. That conversation is uncomfortable for about thirty seconds. Discovering it together at the meetup is much worse, and usually ends the trade.
Do not rely on “it worked last month.” Things fail in storage, batteries degrade, and cables get borrowed and not returned.
Chargers, cables, remotes, shelves, screws, manuals, cases, keys, allen keys, safety pins. Anything you promised, and anything that makes the item usable.
A missing charger or a lost bag of screws changes what the item is worth far more than most people expect.
This step is easy to skip and genuinely matters.
Physical: name labels, delivery stickers, handwritten notes, receipts left in drawers, documents inside books, children’s name tags on clothing.
Digital: back up first, then sign out of every linked account, disable tracking and activation locks, remove SIM and memory cards, clear saved addresses, payment methods and Wi-Fi credentials, and run the official factory reset rather than deleting a few folders.
Never hand over company-owned equipment or a device holding employer data without clear authorisation and the correct secure-erasure process. The UAE publishes useful background on data protection laws and on cyber safety and digital security. The full device sequence is in our used electronics swap checklist.
Take a few photos immediately before packing — especially for higher-value or fragile items.
Capture screens powered on, serial labels where appropriate, the major surfaces, and all the included accessories laid out together. It takes two minutes.
These images are what settle any later confusion about what was included or when a scratch appeared. You will almost never need them, and on the occasion you do they are worth far more than the effort. See our guide to photographing items.
Use a box or wrapping suited to the item and the trip it is about to take.
You are swapping a coffee machine for a set of dumbbells.
The night before: you descale it, run one cycle to confirm it still works, and clean the drip tray properly. You find the filter holder and the measuring scoop, bag them, and tape the bag to the handle. You photograph it running, plus the accessories laid out beside it.
Then you notice a small crack in the water tank lid that was not in your listing photos. You message straight away: “Just spotted a hairline crack in the tank lid — it does not leak, but I wanted to flag it before you travel. Photo attached. Happy to continue or cancel, your call.”
They come anyway. That one message is why.
Some things should not be listed, however well you clean them:
Where reuse would transfer a risk rather than a benefit, use an authorised recycling or disposal route instead — see the UAE’s waste management guidance.
It is tempting to treat all this as housekeeping — something done after the real work of finding a match. In practice it is the opposite way round.
A prepared item arrives looking exactly like its listing, works on the first try, and comes with everything it should. The other person spends thirty seconds checking rather than ten minutes hunting for problems, and the whole exchange feels straightforward. That impression is what turns into a good review.
An unprepared one invites scrutiny. A missing cable makes someone wonder what else is missing; a smear of dust on a screen makes them look harder at the screen. Nothing has actually changed about the item, but the conversation has.
Over a handful of swaps this compounds. Reliable people become easy to spot on a platform where reviews are visible, and their listings get answered faster. Twenty minutes of preparation is the cheapest reputation you will ever buy.
Then mark the exchange complete and leave an accurate review. See the safe swap meetup checklist and how to value your item for a fair swap.
Everything above fits comfortably into thirty minutes the evening before, and it is worth treating as a single block rather than something squeezed in on the way out of the door.
Clean it, run the final test, gather every accessory into a labelled bag, wipe the personal data, take the photographs, then pack it. In that order, because each step depends on the one before — there is no point photographing an item you have not cleaned, or resetting a device you have not yet demonstrated working.
Done on the morning of the handover, half of it gets skipped and the other half gets rushed. Done the night before, it is unhurried, and the meetup itself takes five minutes instead of twenty.
Only when the repair is safe and genuinely worthwhile. Always disclose it — including any replacement parts used — rather than presenting the item as untouched.
No, but safe packaging matters for anything fragile or electronic. If you do still have the original box, say so — it adds real value for some items.
Back up first, then demonstrate the device working at the meetup, and reset just before handover. Resetting at home means you cannot show it works.
Tell the other person before they travel, with a photo. Continue only if you both freely agree; otherwise postpone or cancel. Discovering it together is far worse.
Clean enough that the condition is visible and honest. Beyond that you are polishing for its own sake — the receiver will clean it again anyway.
No, but say what is and is not included in the listing. Ambiguity at the handover is what creates the awkward conversations.
A well-prepared item earns trust before a word is spoken. Arrange the match on Bartr, then clean, test, reset and pack it properly for a smooth handover.