How-To Guides
How to Photograph Your Items for a Better Swap: A Simple Phone Guide
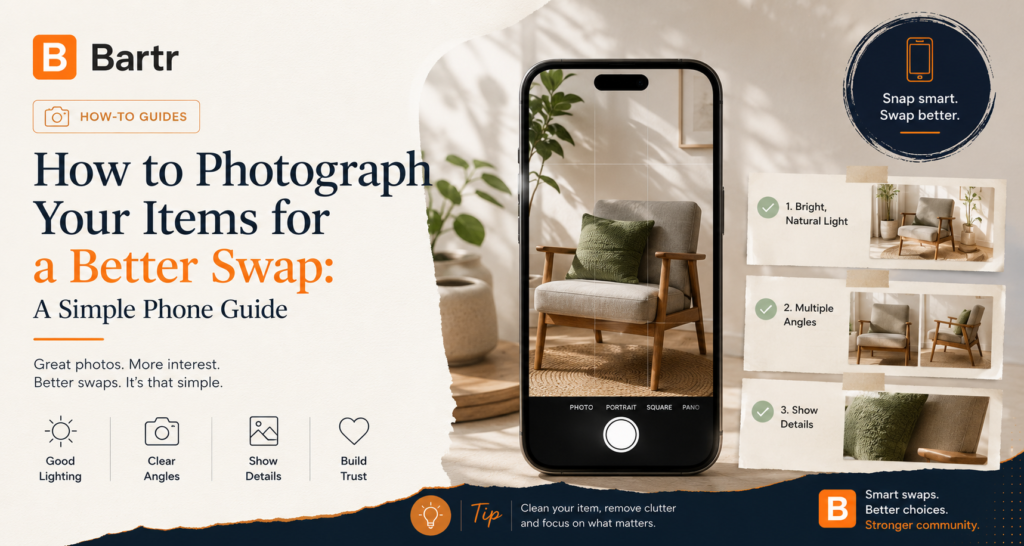
Most people scroll fast and judge an item in about two seconds. Before anyone reads your description, the photos have already decided whether they will.
Good images do a second job too: they answer the obvious questions before they are asked. A listing with clear photos of the model number, the accessories and the one scratch goes straight to “can you meet Saturday?” A vague one generates five messages and often no swap at all.
None of this needs a good camera. It needs five minutes and a window.
Wipe, dust, fold or wash the item before you shoot anything. A clean item photographs better, and more importantly it signals that it was looked after — which is what someone is really trying to work out.
Then gather everything you plan to include: chargers, cables, remotes, manuals, spare parts, the box. Photograph them together with the item so the full set is visible from the start. That single habit prevents most “I thought the charger was included” conversations.
Shoot near a window in soft daylight. Natural light shows true colour and real condition, which is exactly what you want.
What to avoid:
In the UAE, mid-morning or late afternoon near a window is ideal. If the light is very strong, move back from the window or hang a thin curtain to soften it.
A tidy floor, a plain wall, a clear table. That is genuinely enough — no studio, no backdrop, no props.
The item should be the only thing to look at. A phone photographed on a cluttered desk is competing with the clutter, and a sofa photographed in a messy room looks worse than it is. Move the surrounding mess out of frame rather than tidying the whole room.
Work through a consistent sequence so you do not forget anything:
Five to eight photos covers most items. Fewer than three reads as either rushed or evasive.
The “powered on” shot is the highest-value single photo for anything electrical. A TV showing a picture or a laptop at the desktop answers the first question everyone has.
This is the step people resist, and it is the one that works hardest.
Photograph the scratch, the stain, the chip, the missing part — clearly, in focus, close enough to judge. Not hidden at the end of the set, and not shot at an angle that minimises it.
An honest flaw photo builds more trust than a flawless-looking listing. It tells the other person you are describing things accurately, which makes them believe everything else you said. And it removes the renegotiation that kills swaps at the meetup, because there is nothing left to discover.
A useful test: if you would be uncomfortable having them find it in person, photograph it now.
Hold the phone steady with both hands, or brace against something. Tap the screen on the item to set focus before shooting — phones frequently focus on the background instead.
Then leave it alone. No heavy filters, no saturation boost, no beauty modes. A filter that makes a beige sofa look cream is a small lie that gets discovered on a doorstep.
Some practical fixes:
A few items resist the standard approach, and each has a simple fix.
Glare is the enemy. Turn the screen brightness up, angle the device slightly away from the window rather than facing it, and move your own reflection out of shot. A picture on the screen proves it works — a black rectangle proves nothing.
Chrome, glass tabletops and gloss finishes reflect the whole room. Shoot from a slight angle rather than straight on, and stand where you are not reflected in the surface.
Step back to a corner of the room and shoot diagonally, which shows depth as well as width. Then take detail shots of joints, corners and wear. Include something familiar for scale if the size is hard to judge from a photo.
Most phones cannot focus closer than about ten centimetres. Move back, then crop in afterwards — a sharp crop beats a blurry close-up every time.
A catalogue photo of the product does not show your item. It reads as either laziness or something being hidden, and experienced swappers skip those listings entirely.
Real photos also protect you. If there is ever a disagreement about condition or what was included, your own dated photos are the record — a manufacturer image proves nothing about the thing in your hallway.
The same applies to reusing someone else’s listing photos, which is a well-known scam pattern. See 10 swap scam red flags.
You are listing a two-year-old laptop.
You wipe the screen and keyboard, gather the charger, and clear the dining table. Mid-morning, near the window, you take: the laptop open and running at the desktop; closed, from above; both sides showing the ports; the base with its model label readable; the charger beside it; and a close-up of a scuff on the lid corner.
Seven photos, about four minutes. The scuff photo is the one that gets you a serious offer rather than three people asking “any damage?”
Clean, gather, find the light, clear the background, shoot the sequence, then shoot the flaws. Do it in that order and the whole thing takes five minutes rather than three attempts across a week.
Pair this with how to list an item on Bartr and preparing an item for handover, and see how to value your item once the offers start.
There is a second reason to shoot properly that has nothing to do with attracting offers.
Your dated photographs are the only evidence of what the item looked like and what was included at the moment it left your hands. If a disagreement ever arises about a mark, a missing accessory or damage in transit, that set of images settles it in seconds.
Keep them until the swap is fully complete and the other person has had the item for a few days, rather than deleting them the moment the listing closes. It costs nothing and occasionally matters a great deal. The UAE government portal sets out your consumer protection rights more broadly — and it is worth being mindful of what is visible in the background of your shots, since documents, addresses and screens give away more than intended.
Five to eight for most items: front, back, sides, labels, accessories and a close-up of any flaw. Three is the practical minimum.
No. A modern phone in good daylight is more than enough. Cleanliness, light and honest angles matter far more than equipment.
Yes. It builds trust, prevents renegotiation at the meetup, and leads to better reviews. Hidden flaws always surface, and always cost more when they do.
They do not show your item, they read as evasive, and they give you no record if there is a dispute. Reusing someone else’s photos is also a common scam pattern.
Crop and straighten freely, and brighten a dark shot slightly. Do not use filters that change colour or texture — accuracy is the point.
Step back and shoot the whole piece from a corner angle, then take detail shots of joints, corners and any wear. Include a familiar object for scale if the size is hard to judge.
Better photos, better swaps. Clean your item, find some daylight, and relist it on Bartr with clear, honest photos that bring real offers.